Product Support
Need help with a specific product? Browse through our frequently asked questions below for assistance. If you don't find the answer you need, visit our Contact Us page or call our customer service department on 01473 277508 to speak directly with one of our experienced support team members. We're here to help!
Choose your product category
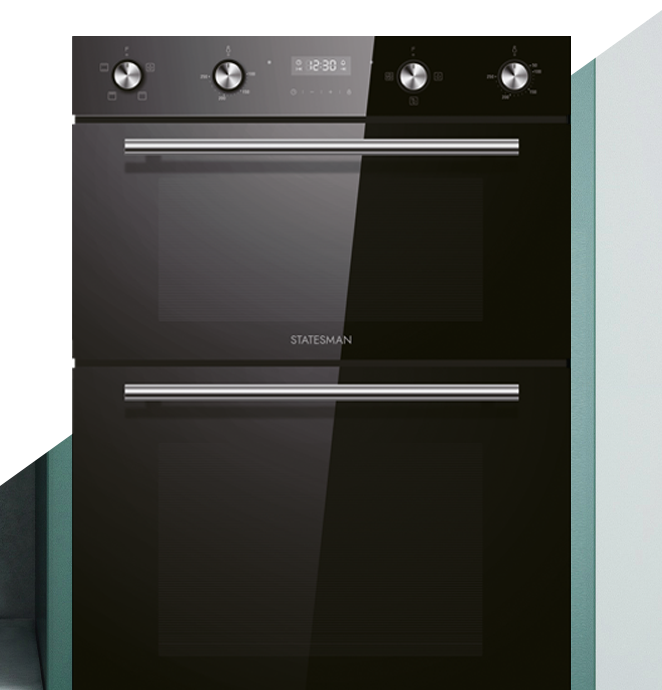
Cooking
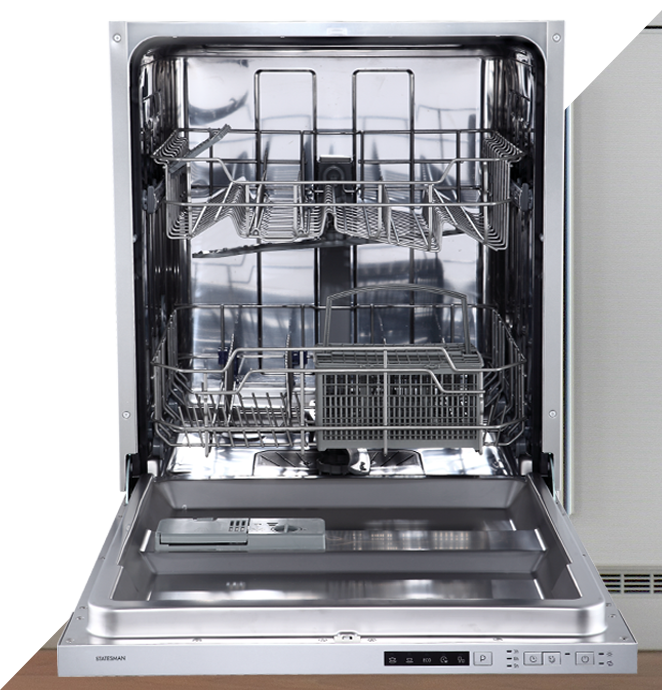
Dishwashers
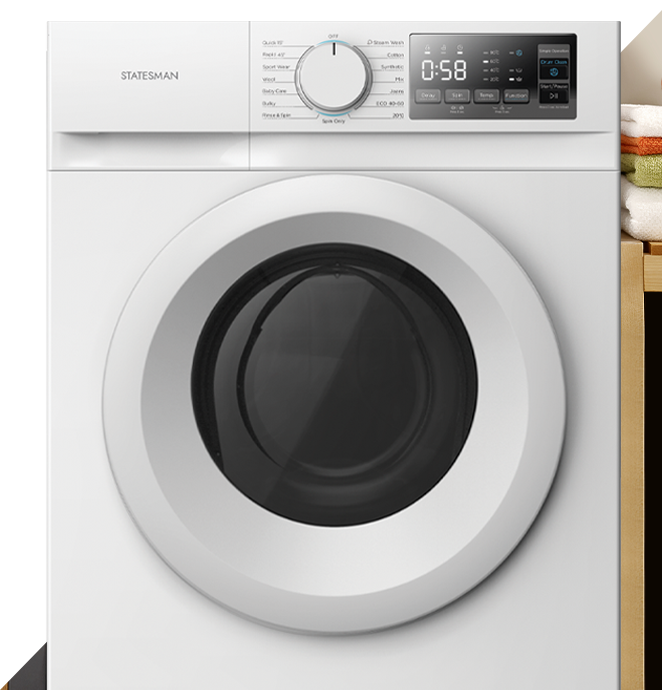
Laundry
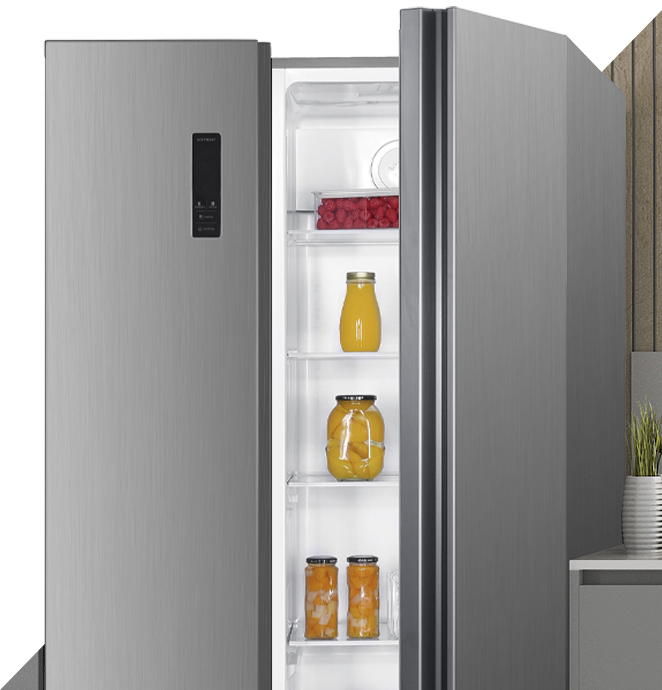
Refrigeration
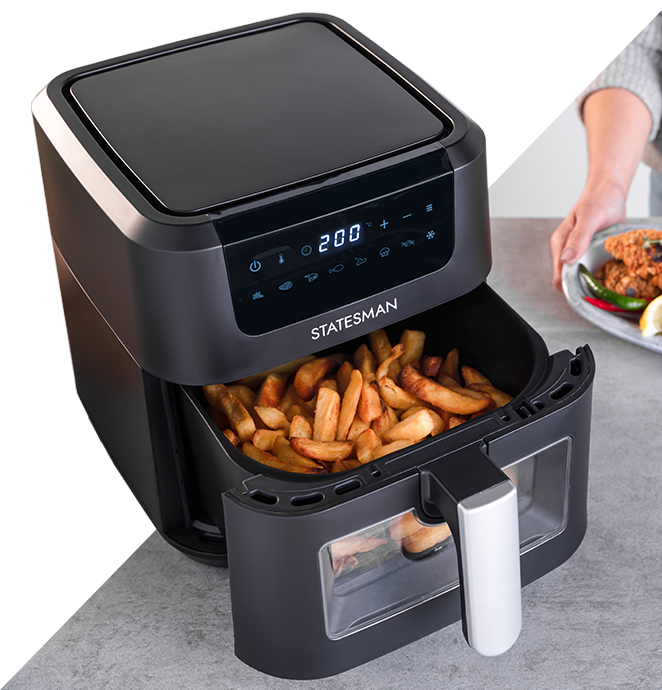
SDA
Cooking
FAQS
- Check your appliance type (conventional or fan) and follow package cooking instructions
- Try reducing cooking temp by 25 degrees and times by 10 mins every hour
- Ensure all food is in the centre of the shelf, and not directly on the bottom of the oven as this inhibits heat circulation.
Did this resolve your issue? If not please reach out to our customer service team by contacting us here, who will be able to help you.
- This could be the protective coating (used during manufacture) burning off or the cavity emitting odours the first few times it is used. This is normal.
- If you notice a strong smell, please ensure that the room is well ventilated.
- To ‘burn off’ the coating, turn the oven up high, to at least Gas mark 6/200 degrees and leave this to run for between 30 and 60 minutes. If the smell continues, repeat this process a few more times then allow the oven to fully cool and use hot soapy water to wipe down the oven cavity.
Did this resolve your issue? If not please reach out to our customer service team by contacting us here, who will be able to help you.
- Check that the main power is switched on at the cooker switch
- Check that the power is on at the fuseboard/ breaker switch
Did this resolve your issue? If not please reach out to our customer service team by contacting us here, who will be able to help you.
Dishwashers
FAQs
- Adjust the top basket up or down as needed
- Ensure large items don’t interfere with the spray arms
Did this resolve your issue? If not please reach out to our customer service team by contacting us here, who will be able to help you.
- Check the mains water is connected
- Check the supply pipe in snot kinked or trapped
- Reset the unit by switching off, leave for 1 min and then turn on again
Did this resolve your issue? If not please reach out to our customer service team by contacting us here, who will be able to help you.
- Ensure the basket is not overloaded
- Choose the correct wash for your load
- Check the salt level
- Check the filters
- Check the spray arms are not blocked
Did this resolve your issue? If not please reach out to our customer service team by contacting us here, who will be able to help you.
Laundry
FAQs
- Check the power is on
- Check the door is firmly shut
- Ensure you have properly selected a drying cycle
Did this resolve your issue? If not please reach out to our customer service team by contacting us here, who will be able to help you.
- Make sure the dryer has not been overloaded
- Check the lint filter and clear accordingly
- Check the dryer’s inlet, outlet and vent pipe for fluff and clear
- Clear the condenser unit of fluff and lint
- Refit everything and try again, the smell may take a few mins to clear
Did this resolve your issue? If not please reach out to our customer service team by contacting us here, who will be able to help you.
- Ensure the drying load is the correct size for the program selected
- Check and clear the lint filter
- check the inlet, outlet and pipe for fluff
Did this resolve your issue? If not please reach out to our customer service team by contacting us here, who will be able to help you.
Refrigeration
FAQs
This is normal, raised temps are essential to avoid condensation forming inside the unit.
Did this resolve your issue? If not please reach out to our customer service team by contacting us here, who will be able to help you.
- Check the temperature of the room your fridge is in, if below 10 °C, the fridge may start to defrost.
- Check the door seal.
- Check the power is on.
Did this resolve your issue? If not please reach out to our customer service team by contacting us here, who will be able to help you.
- Cracking sounds are normal, this is usually built-up frost in the unit
- It is also normal to hear the gas circulating around the system
- If you are hearing a loud vibrating noise, this can mean your appliance is not level
Did this resolve your issue? If not please reach out to our customer service team by contacting us here, who will be able to help you.
Small Appliances
FAQs
Air Fryers
- Check the power source: Ensure the air fryer is properly plugged into a functioning outlet.
- Inspect the power cord: Look for any damage to the cord that might be preventing it from supplying power.
- Check the basket placement: Some air fryers won't start unless the basket is inserted correctly.
- Don’t overcrowd the basket: Make sure there is enough space around the food for hot air to circulate properly.
- Shake the basket: Shake or turn the food halfway through cooking for more even results.
- Adjust temperature and time: Some foods may need a higher temperature or a longer cooking time.
- Overloading the basket: Cooking times may be longer if the basket is too full, as it reduces air circulation.
- Temperature settings: Double-check that you have set the correct temperature for the food you're cooking.
- Preheat the air fryer: Make sure the air fryer is preheated to speed up the cooking process.
Beer Dispensers
- Check the temperature: Ensure the beer is at the correct serving temperature (ideally 3-5°C or 37-41°F). Warmer beer tends to produce more foam.
- Adjust the pressure: If the CO2 pressure is too high, it can cause excessive foaming. Reduce the pressure to the recommended level, typically between 10-12 PSI (pounds per square inch) for most beers.
- Clean the lines: Dirty beer lines can cause foaming. Regularly clean the beer lines to prevent this issue.
- Pouring technique: Tilt the glass at a 45-degree angle while pouring and gradually straighten it as it fills.
- Check the CO2 tank: Ensure the CO2 tank is not empty and that the regulator is set to the correct pressure.
- Inspect for leaks: Make sure there are no leaks in the CO2 line, coupler, or connections. Tighten any loose fittings.
- Temperature issues: If the beer is too cold, CO2 absorption can decrease, making the beer appear flat. Allow the beer to warm slightly to the appropriate serving temperature.
- Check all connections: Ensure that all connections between the keg, lines, and coupler are securely tightened.
- Inspect seals and washers: Look for damaged or worn-out seals, washers, or gaskets in the coupler or faucet and replace them if necessary.
- Faucet leak: If the leak is coming from the faucet, disassemble and clean it, checking for any damaged parts.
Microwaves
- Check the power supply: Ensure that the microwave is properly plugged into a working outlet. Try plugging another device into the outlet to see if it works.
- Inspect the circuit breaker: If the outlet is not working, check your home's circuit breaker or fuse box to see if a fuse has blown or a breaker has tripped.
- Door latch issues: Microwaves have a safety feature that prevents them from running if the door is not properly closed. Make sure the door is fully shut.
- Test with different foods: Try heating different items to ensure it’s not a specific food issue.
- Check the door switch: If the door switch is malfunctioning, the microwave may not heat even though it turns on. Listen for a clicking sound when you close the door.
- Magnetron or diode failure: If the microwave runs but doesn't heat, the problem might be with the magnetron or diode, which are components that generate heat.
- Remove any metal objects: Check to see if there is any metal inside the microwave, like aluminum foil, utensils, or dishes with metallic trim, which can cause sparks.
- Check for food residue: Burnt food or grease on the microwave walls can cause sparking. Clean the interior thoroughly.
Pizza Ovens
- Rotate the pizza: To ensure even cooking, rotate the pizza 180 degrees halfway through the cooking time.
- Distribute heat evenly: In wood-fired ovens, distribute the wood or charcoal evenly around the cooking area. For gas ovens, make sure the flame is properly adjusted.
- Adjust pizza placement: Place the pizza on different parts of the stone to identify and avoid any specific hot spots.
- Increase the oven temperature: For a crispier crust, you might need a higher temperature, ideally around 500-550°F (260-290°C) for most pizza styles.
- Use less sauce: Too much sauce or toppings can make the pizza crust soggy. Try using less moisture-heavy ingredients.
- Preheat the pizza stone: Make sure the stone is properly preheated to transfer enough heat to the dough.
- Inspect the fuel source: For gas ovens, ensure there are no leaks or blockages in the gas line. For wood-fired ovens, make sure you're using dry, seasoned wood that burns efficiently.
- Check air vents: Ensure that all air vents are open to allow proper airflow for combustion, especially in wood or charcoal ovens.
- Clean the burners or elements: For electric or gas ovens, make sure the burners are clean and free of debris to ensure efficient heating.


